Renovation highlights: Wet bar and kitchen

Maybe it is all the time we are spending at home, but I find myself forgetting what our house was like before our 2018 renovation. Hopefully that speaks to all the time and detail we put in that the house would look as if it should have always been built this way. The two of the areas that people congregate most are 1) the kitchen (obviously) and 2) the wet bar. Here is a little more detail on each of those:
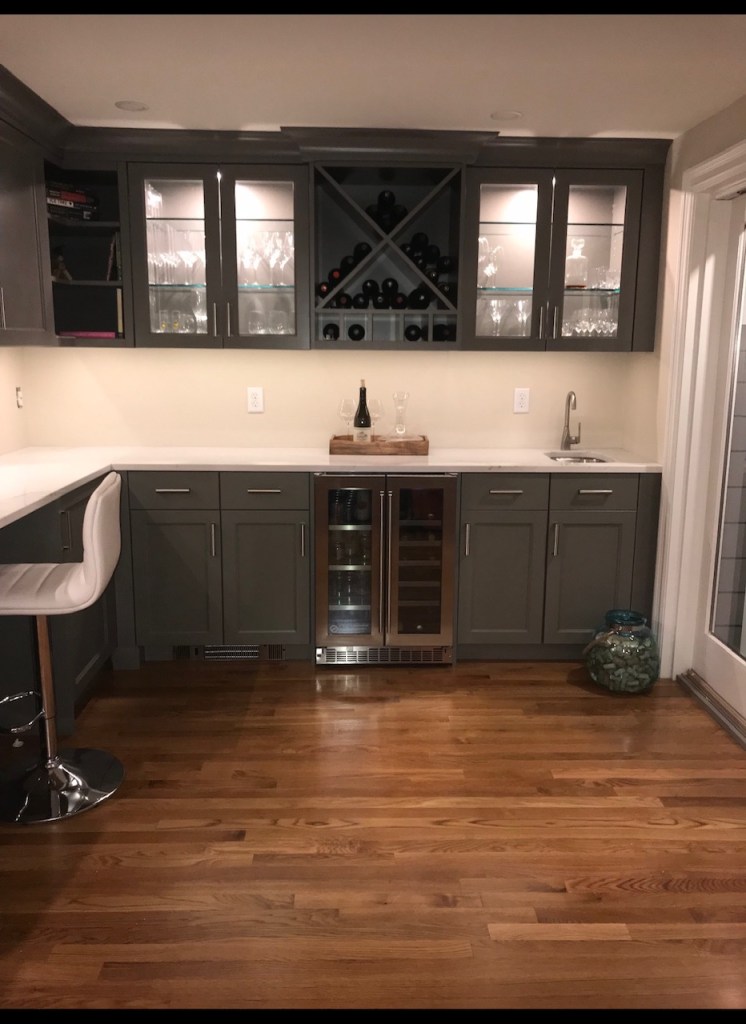
Wet Bar:

This was a nook off of the living room with a large sliding door so it gets a ton of light. Initially our builder asked “you’re going to put bookshelves there, right?”. Ummm what? Clearly he didn’t know us that well. We are other built-ins in mind.

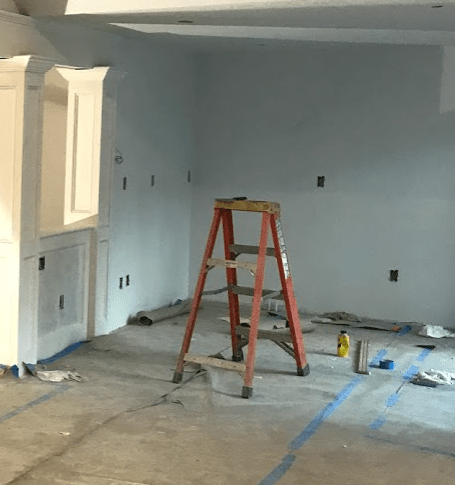
There is no “before” as this part of the house was outside before our addition, but here it is after dry wall:

And the finish product:
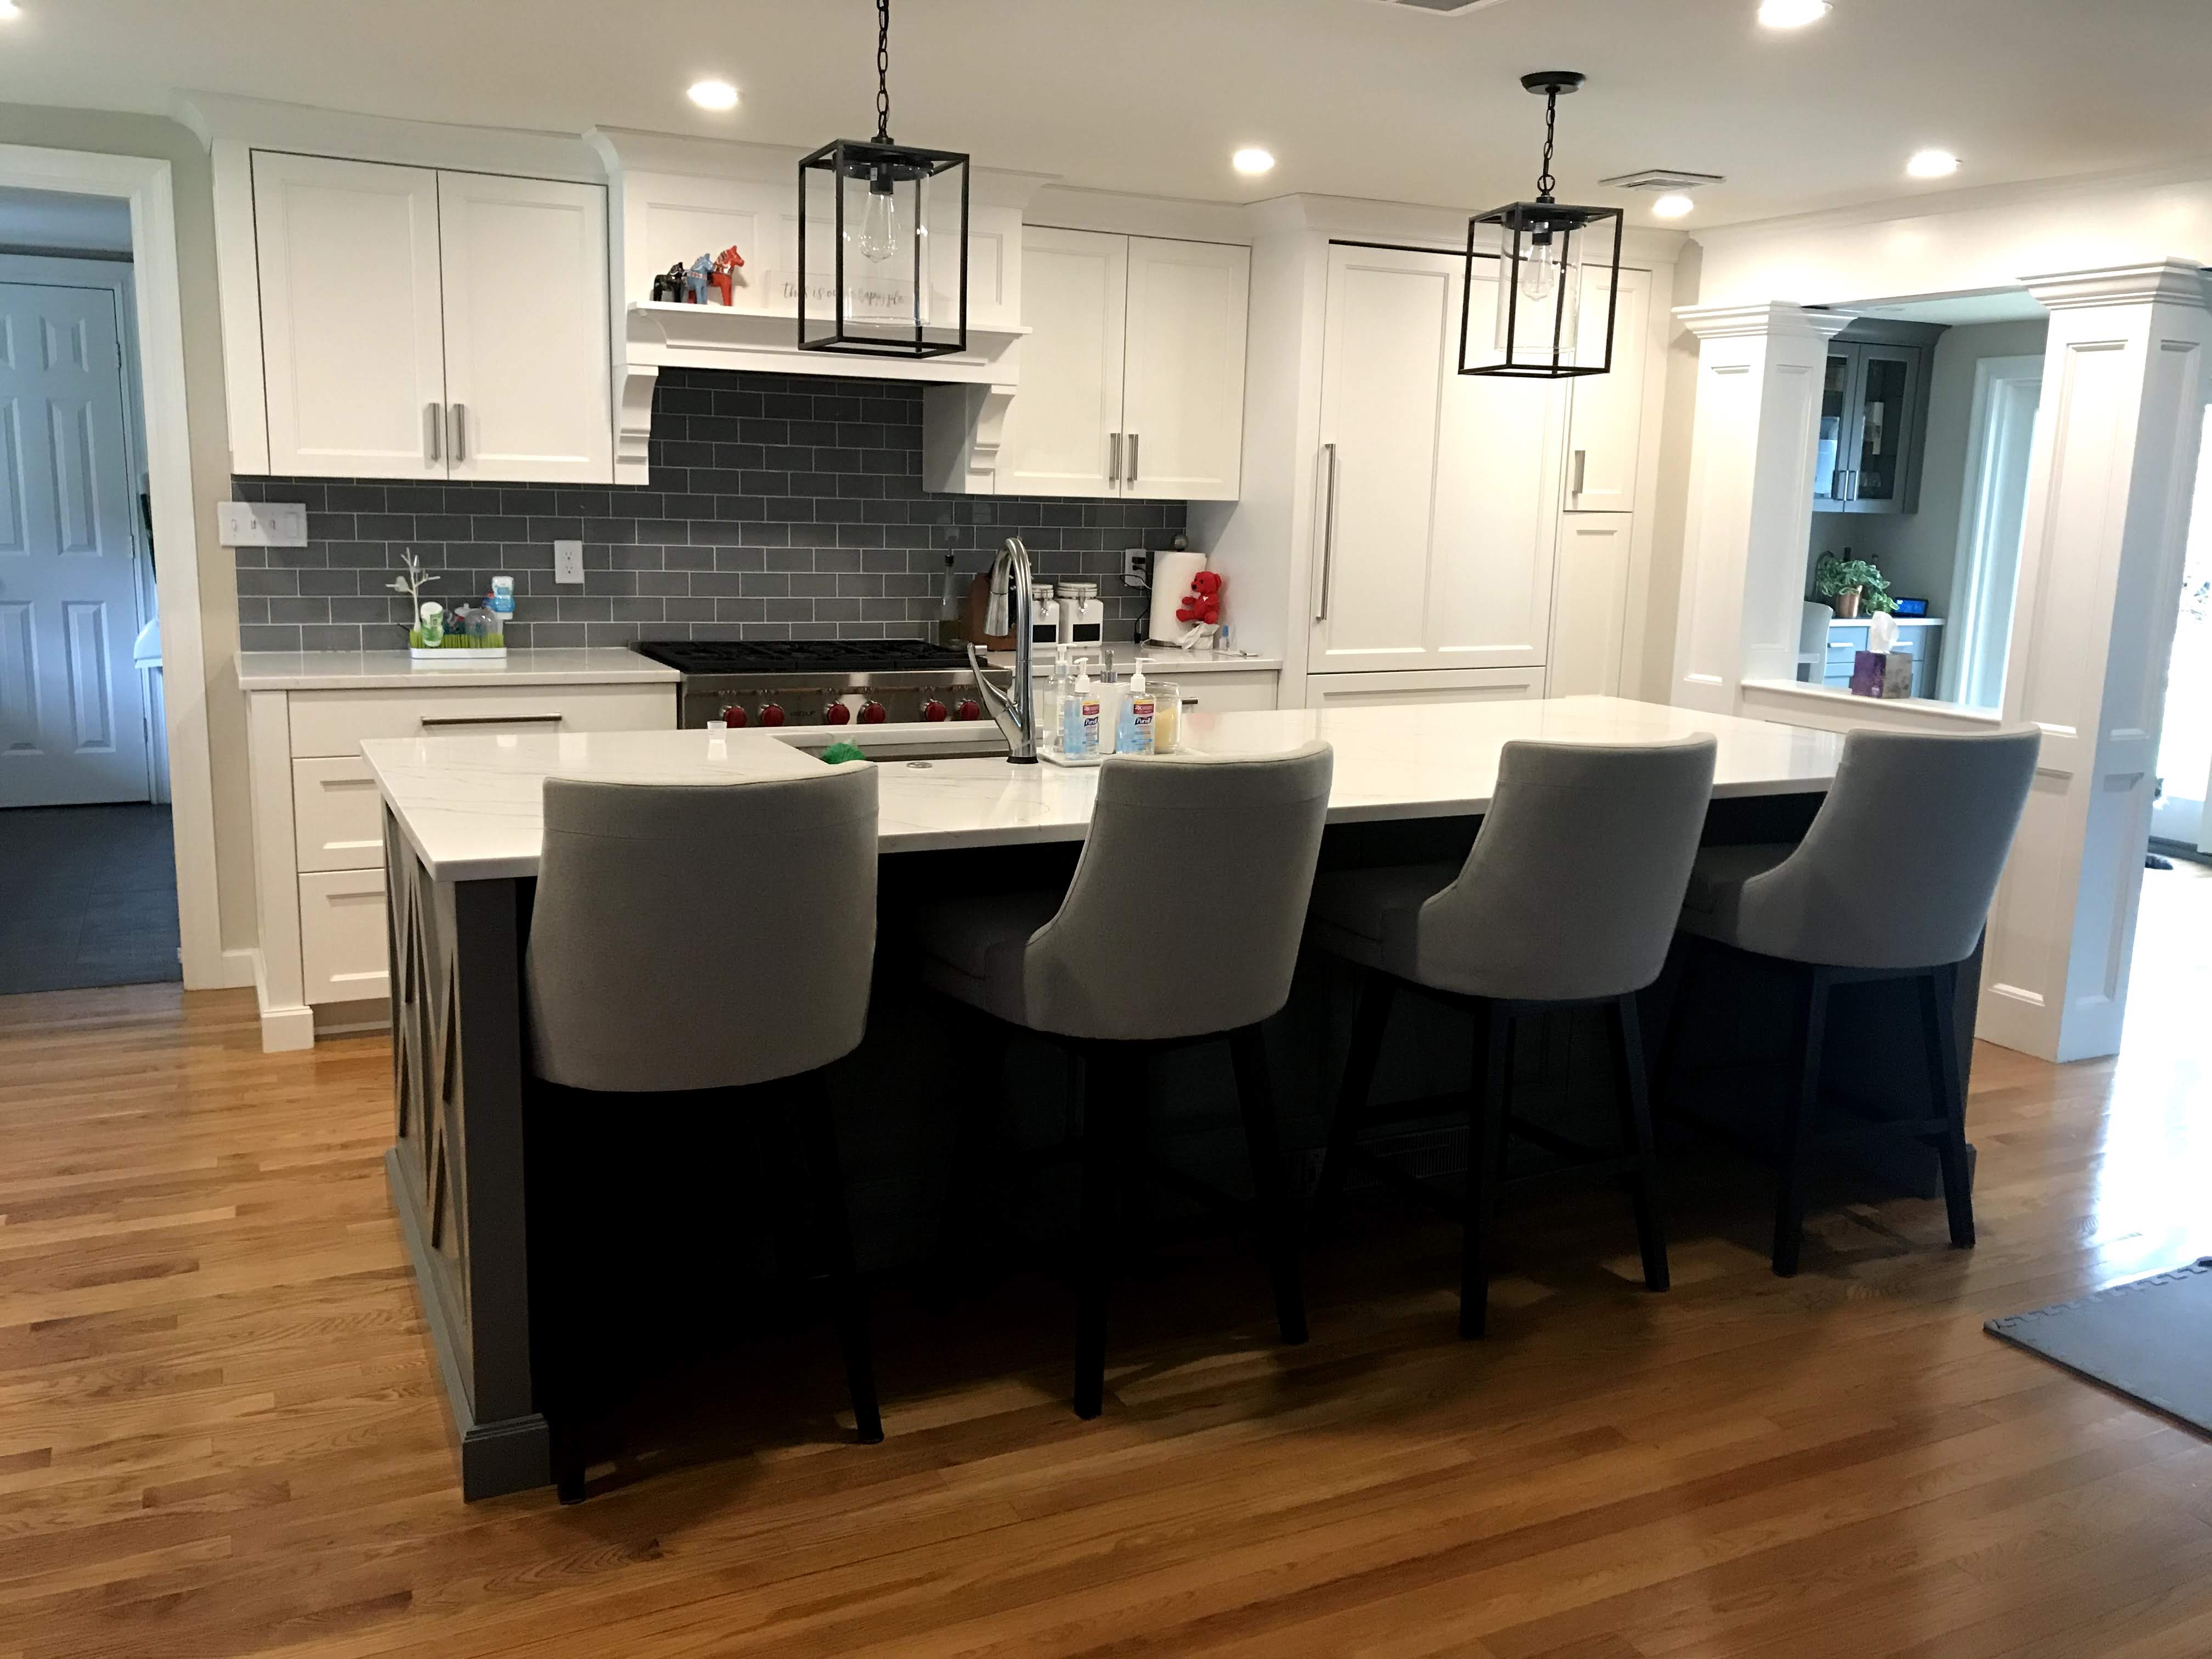
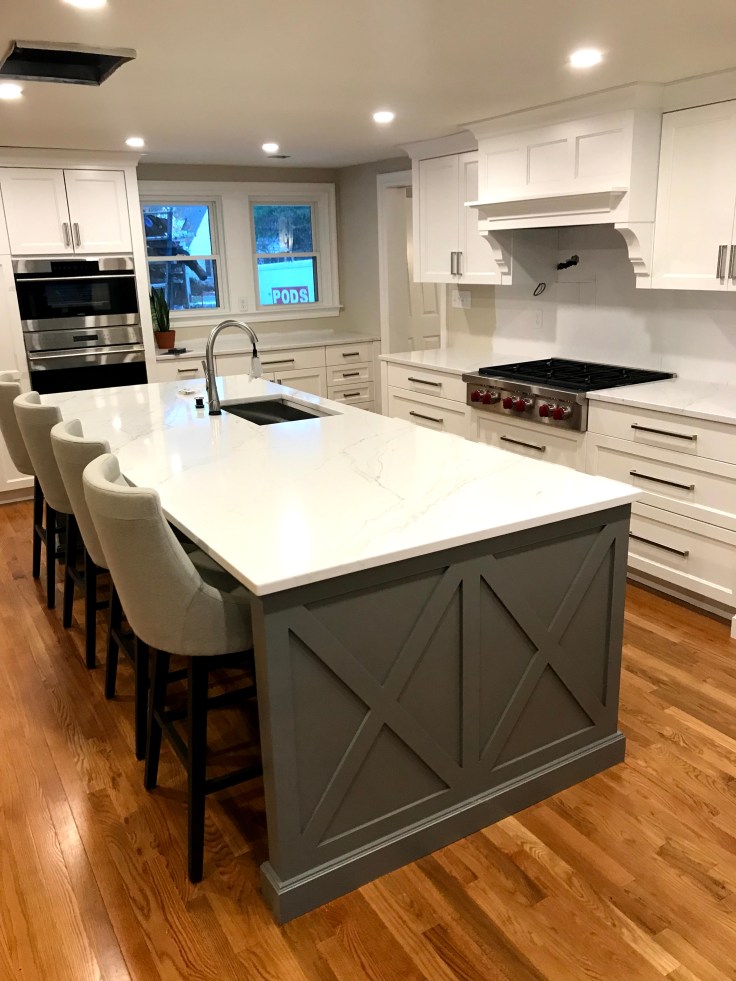
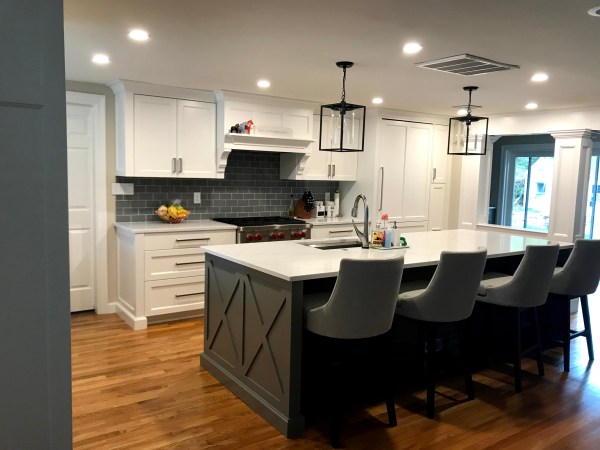
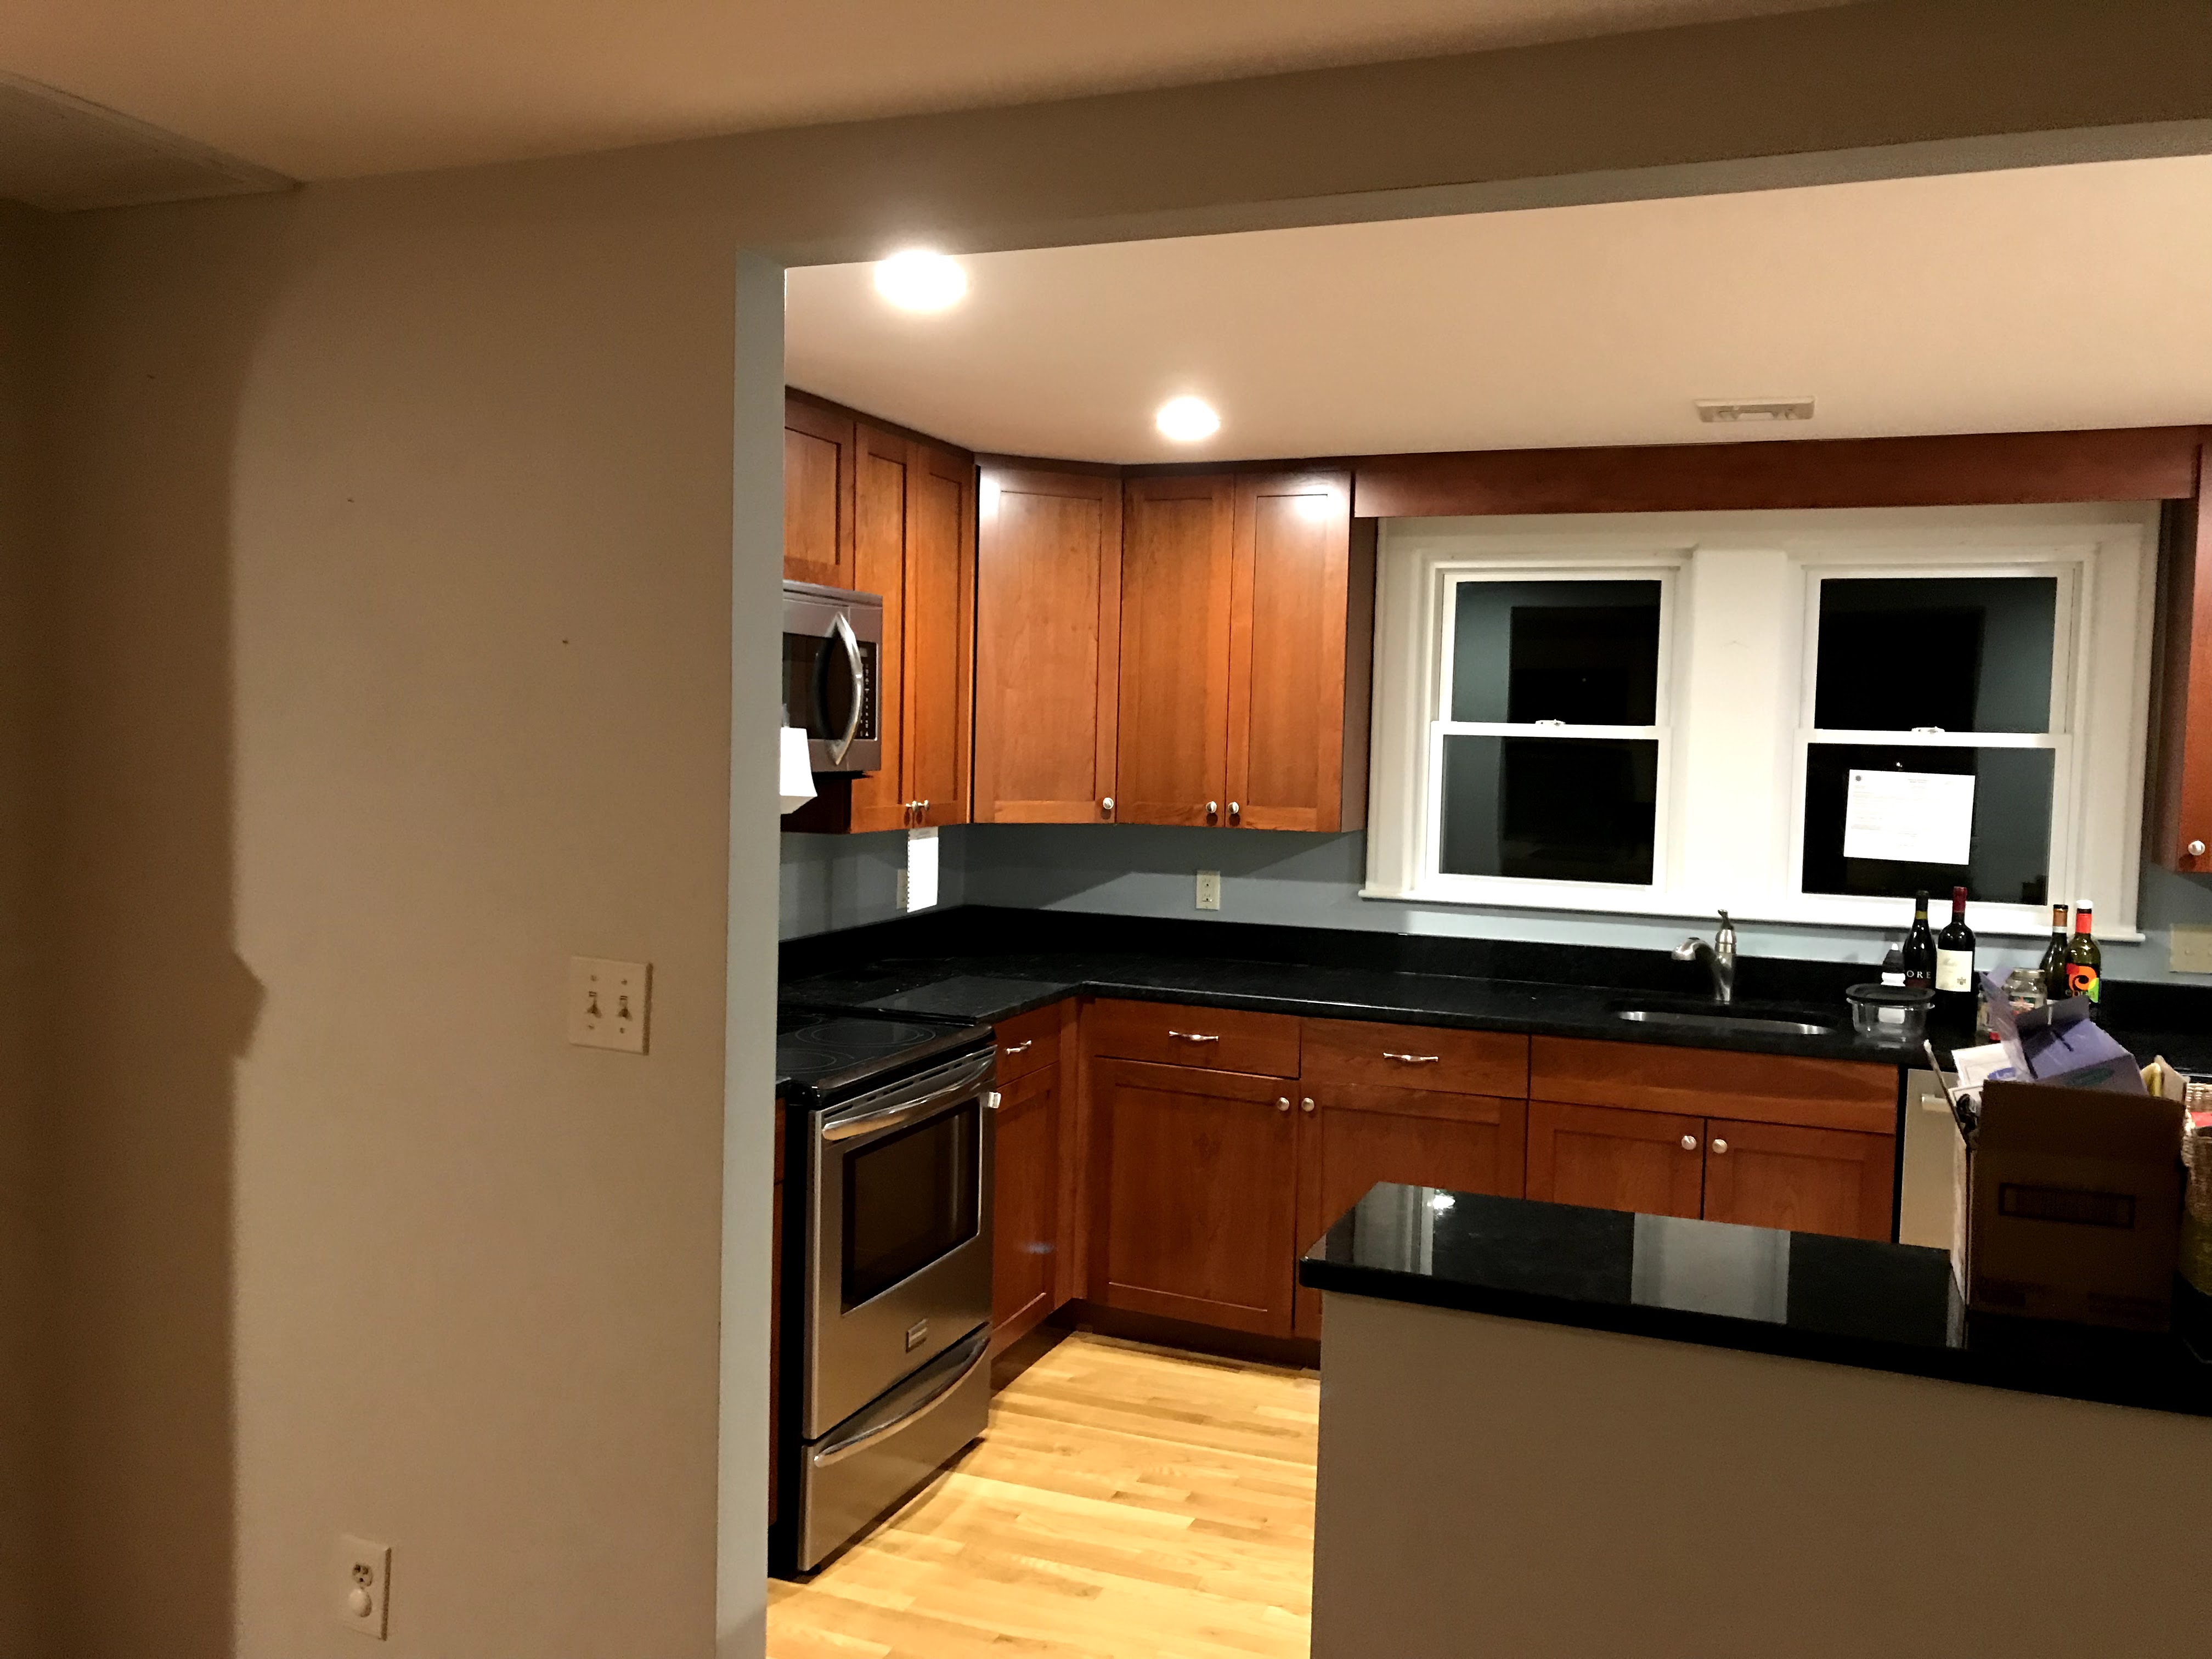
Kitchen:

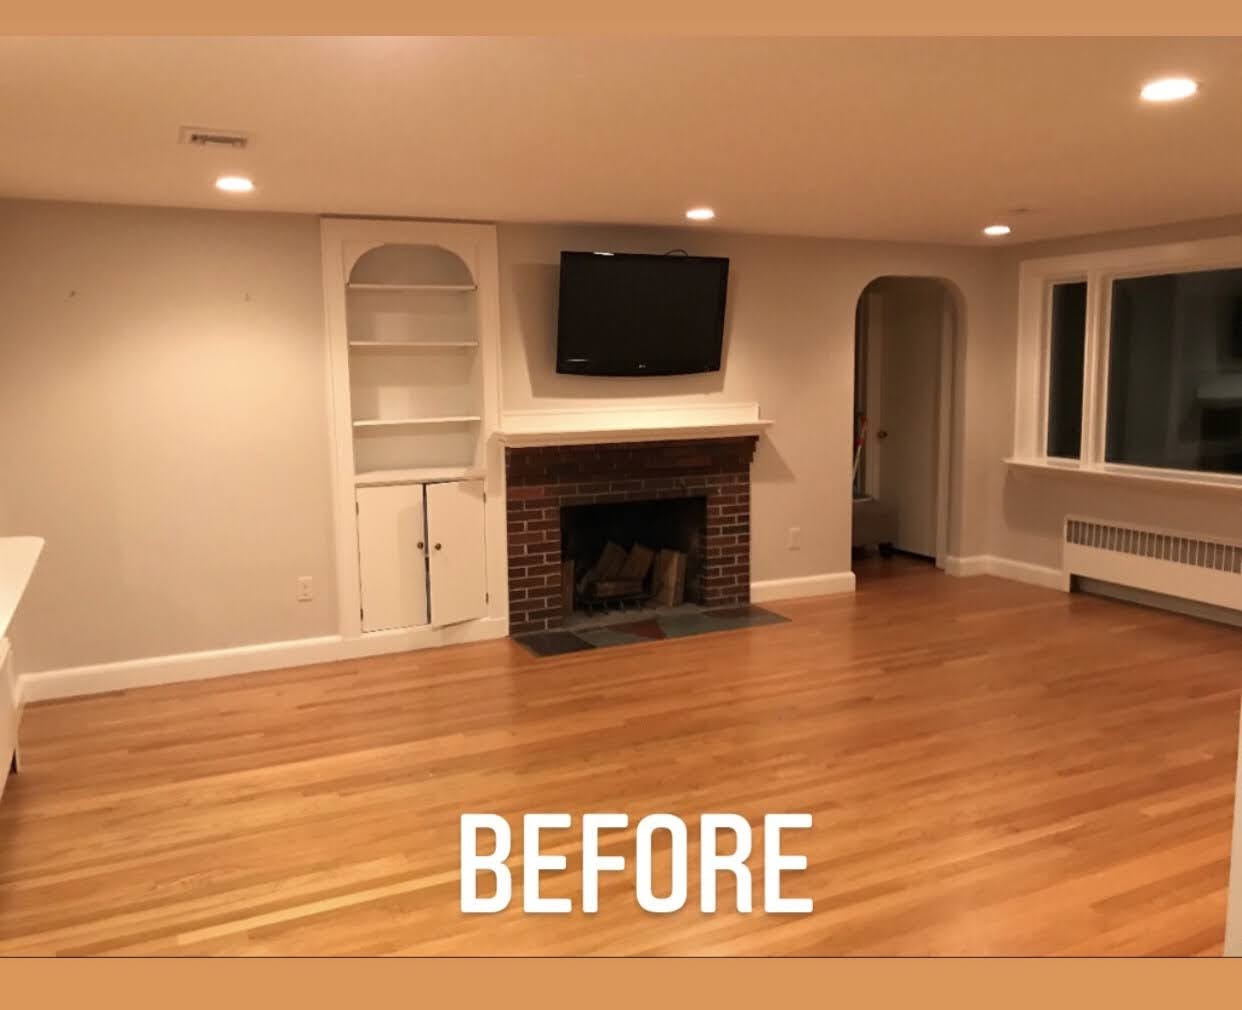
Before pics speak for themselves. Walls came down, we had to move into an apartment, but boy am I glad we did this renovation when we did! Who knew we would spend so many months at home this year.
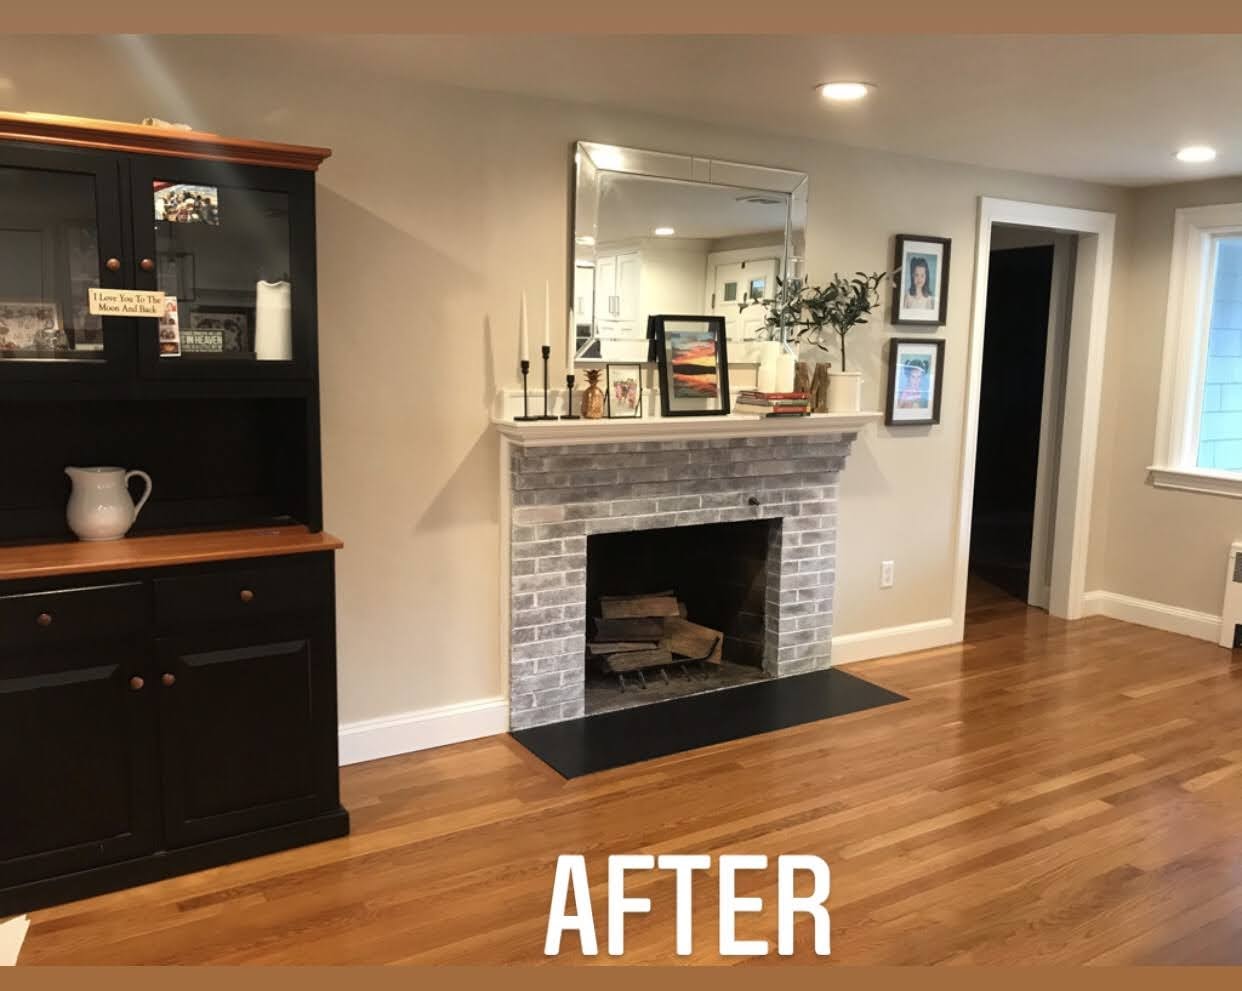
After:

And yes, those are the same two windows! Crazy!

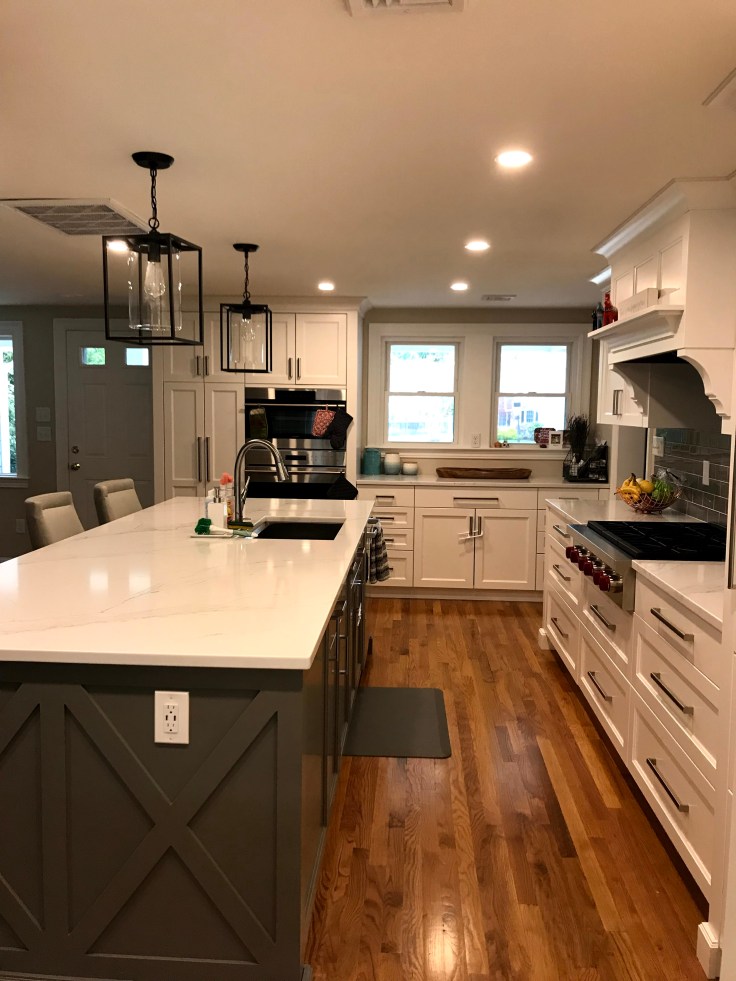
Cabinet Colors: Chantilly Lace & Chelsea Gray both Benjamin Moore

Pro Tip: Bouquet Arranging

A couple years ago, I was looking through Adult Education classes. I was lacking hobbies and was jealous when my husband left to golf, because he had a sport he enjoyed so much. I looked and looked and looked and decided on: Floral Arranging & Dance.

Why do we stop doing the things we love? Yes we get older and busier but we still find joy in them. I was happy to put the “extras” on hold when babies were little/while pregnant, but as both girls got in routines a little more time freed up. I found myself asking “now what”. It was time!

The class was fun and I had a beautiful holiday arrangement that lasted a month. But I enjoyed the Florist’s advice and tips the most. One of which was putting a bouquet together.

Florists Advice:

  • Buy flowers with different flowers, shapes & textures
  • Open and lay them all out on a counter/table
  • Arrange the flowers in your hand and NOT in a vase
  • Once they are all the height & placements you want, secure and cut bottoms

I had always arranged them in a vase…not my hand. It was so much easier!

Here is a bouquet I was putting together for a friend’s birthday last night. She is such a great host and has “everthing”…so when in doubt, choose beautiful flowers.

Fireplace Rehab & Mantle Decor

This project was a multi-step labor of love, and boy has this fireplace come a long way. Also, check out how the room has changed: we squared off the weird round doorway, got rid of the dated built in during our reno, what a difference. From brown brick and flagstone hearth…. to white washed and black granite.

Side by side, before and after!

DIY White Washing:

  • Use flat ceiling paint
  • We used Benjamin Moore’s White Dove
  • Mix 1/3 paint to 2/3 water
  • Work on a 2-3 square foot section at a time
  • After applying the paint, immediately dab the area with paper towels or wet rag.
  • Continue until entire fireplace is complete

WARNING: Brick absorbs the paint fast, so work quickly!

We did not tape off edges or cover hearth because it was getting replaced anyway, however recommend doing so and laying down if that is not the case.

Now that we have our family room addition, this fireplace is now in our dining room. I wanted the mantle decor to have character & contrast. I got the olive tree and candle stick trio from Target, but otherwise used candles, books and frames we had (most likely all from homegoods).

Here it is close up! I think I am going to paint the inside of the fireplace black to match the new granite hearth. What do you think?

Front Door Makeover

I have thought about this door for a while…. it is the first thing our neighbors, friends and family see when they come over. And it was, BLACK! Dark and boring if you ask me. I wanted to buy a new door during our 2018 renovation, but we went over budget so that wasn’t going to happen. Even though our spray foam insulator and friend asked “you’re going to replace that door, right?”. UGH!

So here we are, 2 years later, stuck at home in 2020 and I CANT STOP LOOKING AT IT. While we still don’t have the budget for a new door, we DO have budget for a bucket of paint. I researched researched researched, drove around and looked at the new construction houses and their doors. It was obvious – bright is in! And bright is what we chose!

It took a lot of time (7 coats over 2 days) to cover the black, but the process itself wasn’t difficult.

Step by step instructions & video:

  1. Pick paint color
  2. Sand door
  3. Wipe down & tape off areas (windows, hardware, edges)
  4. Once dry begin painting trim and around hardware
  5. Roll flat areas
  6. Wait an hour between coats to dry. Repeat steps 4 and 5 as many times as necessary.

What a beauty!

Book Page Wreath

I was pleasantly surprised how quick and easy this project was. All you need is an old book (any kind of paper would do – sheet music, etc…) a glue gun, and a wire wreath. It could even be a circle cut out of a pizza box if you are quarantining and don’t want to go to a craft store. Start with the outer ring first and work your way in.

Instructions:

  • Gather all materials (list below)
  • Warm up glue gun & tear out pages
  • Wrap wire wreath in pages – does NOT have to be perfect. This is to cover the surface and hide the wire.
  • Roll each page to desired size. Once you have the width you like, glue gun & secure that sucker closed. 
  • Lastly – glue each page into place on the wreath. Start on the outside of your wreath and work your way in.
  • Repeat repeat repeat

I rolled the paper into smaller cones each row – so it looked delicate the closer to the center. Then tuck the edges into the center and hang! Voila!

What you need:

https://www.michaels.com/ashland-wire-wreath-frame/10174335.html

https://www.michaels.com/search?q=glue%20gun

Book pages/music sheets

I was inspired by: https://kyfarmhouseblog.com/diy-book-page-wreath/

But I was making a book page wreath for our living room and I wanted something more polished, which is why I rolled each page into cone shape instead of crinkling. 

DIY Custom Counter Stool


When we were finishing our home renovation, I was adamant on finding comfortable barstools (preferably upholstered) to ensure the guests would hang out for a while and hopefully keep me company at the island while I cooked and loaded the dishwasher.

My dream counter stools! https://www.serenaandlily.com/ross-counter-stool/mRDCS.html#start=28

Serena & Lily, Ross Counter Stool, $1,198 each

However, we were already at over budget on our renovation, and needed 4 stools. So there was no chance in France I could pony up $4,800 for counter stools. Being the bargain hunter that I am, I was on a mission to find the look I wanted on a budget.

Wayfair. Joss & Main. Home Goods. Home Decor. Warning – what I saved in budget, I gave up in hours. Many many hours. Ultimately we had success at Home Sense – we are fortunate enough to have one in our town. Only the 2nd in the US. It is Home Goods but with lighting, more rug & furniture choices. And there are multiples vs home goods 1 lamp, or 2 chairs but it is pretty rare to find several.

One Major Problem – my $100 stools were bar height not counter height!

Luckily, after 4 months of a major renovation & addition, we had a great relationship with our Contractor. The carpenter happen to be working that week and we asked him to cut a 3.5 inches off the bottom of the legs. And there you have it! $400 vs $4,800. 

Not too shabby, huh?

Blog at WordPress.com.

Up ↑